
Wiki guide · Community guide
Water, pumps & dirt dams
Connect pump hoses, supply the washplant and use deposited dirt to build dams.
Connect the intake and discharge hoses
The tutorial identifies the lower pump fitting as INPUT and the upper fitting as OUTPUT. Use the highlighted fittings to connect each hose.
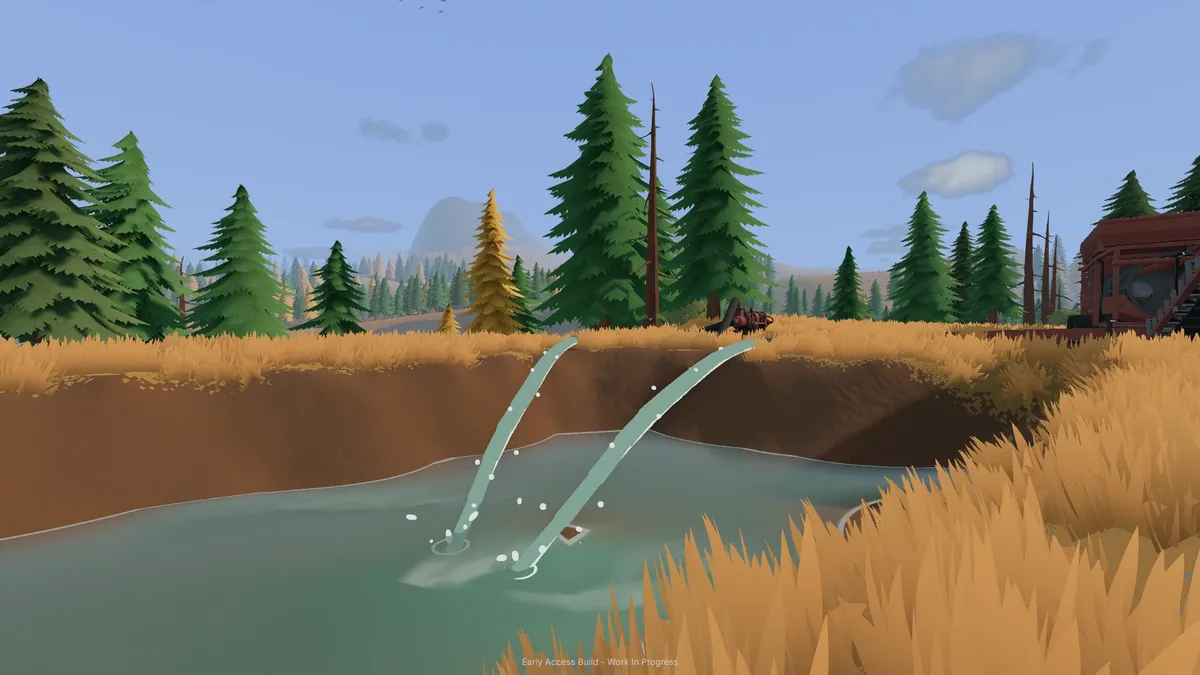
- Place the intake. Connect the input hose and put its loose end below the water surface. A dry intake cannot draw water.
- Place the discharge. Connect the output hose to the receiving equipment, or lay its loose end where you want the water delivered.
- Check the route and start the pump. Hose placement also offers highlighted points for adjusting its route.
The pump catalog entry lists the equipment specification. Watch the receiving pond while pumping so it does not overflow.
Lay the hose where you can follow and reach its loose end. Hose routing around pump bodies was improved in the 0.1.3.2 preview, which also addressed loose hoses becoming impossible to remove after a pump was moved.
Supply the family claim wash line
- River to pond. Pump 1 takes water from the river and discharges into the claim pond. Start it and monitor the pond level while continuing setup.
- Pond to trommel. Pump 2 takes water from the pond. Keep its intake submerged and connect its output hose to the trommel inlet.
- Start washing. Run the second pump, complete the generator and trommel setup, then start feeding material. See the wash-line startup guide for the order.
This is the family claim tutorial arrangement. Other worksites can use a different layout.
Set up the Family Claim washplant and run the first load.
Check a washplant with no water
- Intake end: make sure it is submerged in the actual water source.
- Hose connections: follow the route from the pump input through its output to the washplant inlet.
- Pump switch: confirm the pump is running.
- Source pond: check its current level as well as the pump beside the washplant.
The interactive map shows the starting saved terrain and water. Use the in-game water level when checking a worksite you have already reshaped.
If the trommel runs slowly, check how much water is reaching its inlet. See the washing rates by water flow.
Build dirt dams and hold back water
Deposited dirt piles can block water. Players can build dirt dams by placing material across a water route.
For a small test, build a continuous bank of deposited dirt and watch where the water collects. Check low spots, gaps and the ends of the bank, then adjust the shape as needed. Monitor any pump filling the area.
The loader's pile-only mode helps collect deposited material while protecting the original terrain beneath it. See hand-tool grading for smaller ground-shaping work.
Tow and place the Water Pump Pro
The Water Pump Pro is the towable diesel pump. In 0.1.3.3 it has a folding towing stand. The update also improves pump placement on slopes. Check the pump’s position after unhitching. Use the stand and hitch actions before towing again.
Once the pump is placed, connect the intake and discharge, check that the intake is submerged and watch the level at the receiving pond or equipment.
Follow the Water Pump Pro setup and troubleshooting guide for the complete sequence.